Deploy on Azure
Deploy the AI Platform appliance on Azure by copying the appliance VHD into your storage account and creating a virtual machine from it.
Deploy the AI Platform appliance in your Azure account from a Latticeflow VHD image.
Before You Begin
- Log in to the Azure account where you want to deploy the appliance.
- Confirm that your Azure account has permission to create storage accounts, containers, images, and virtual machines.
- Contact Latticeflow support to obtain the latest public VHD share URL for the appliance.
- Choose the Azure resource group where your scan targets are located.
- Contact your Azure administrator if you need help with Azure permissions, networking, or security settings.
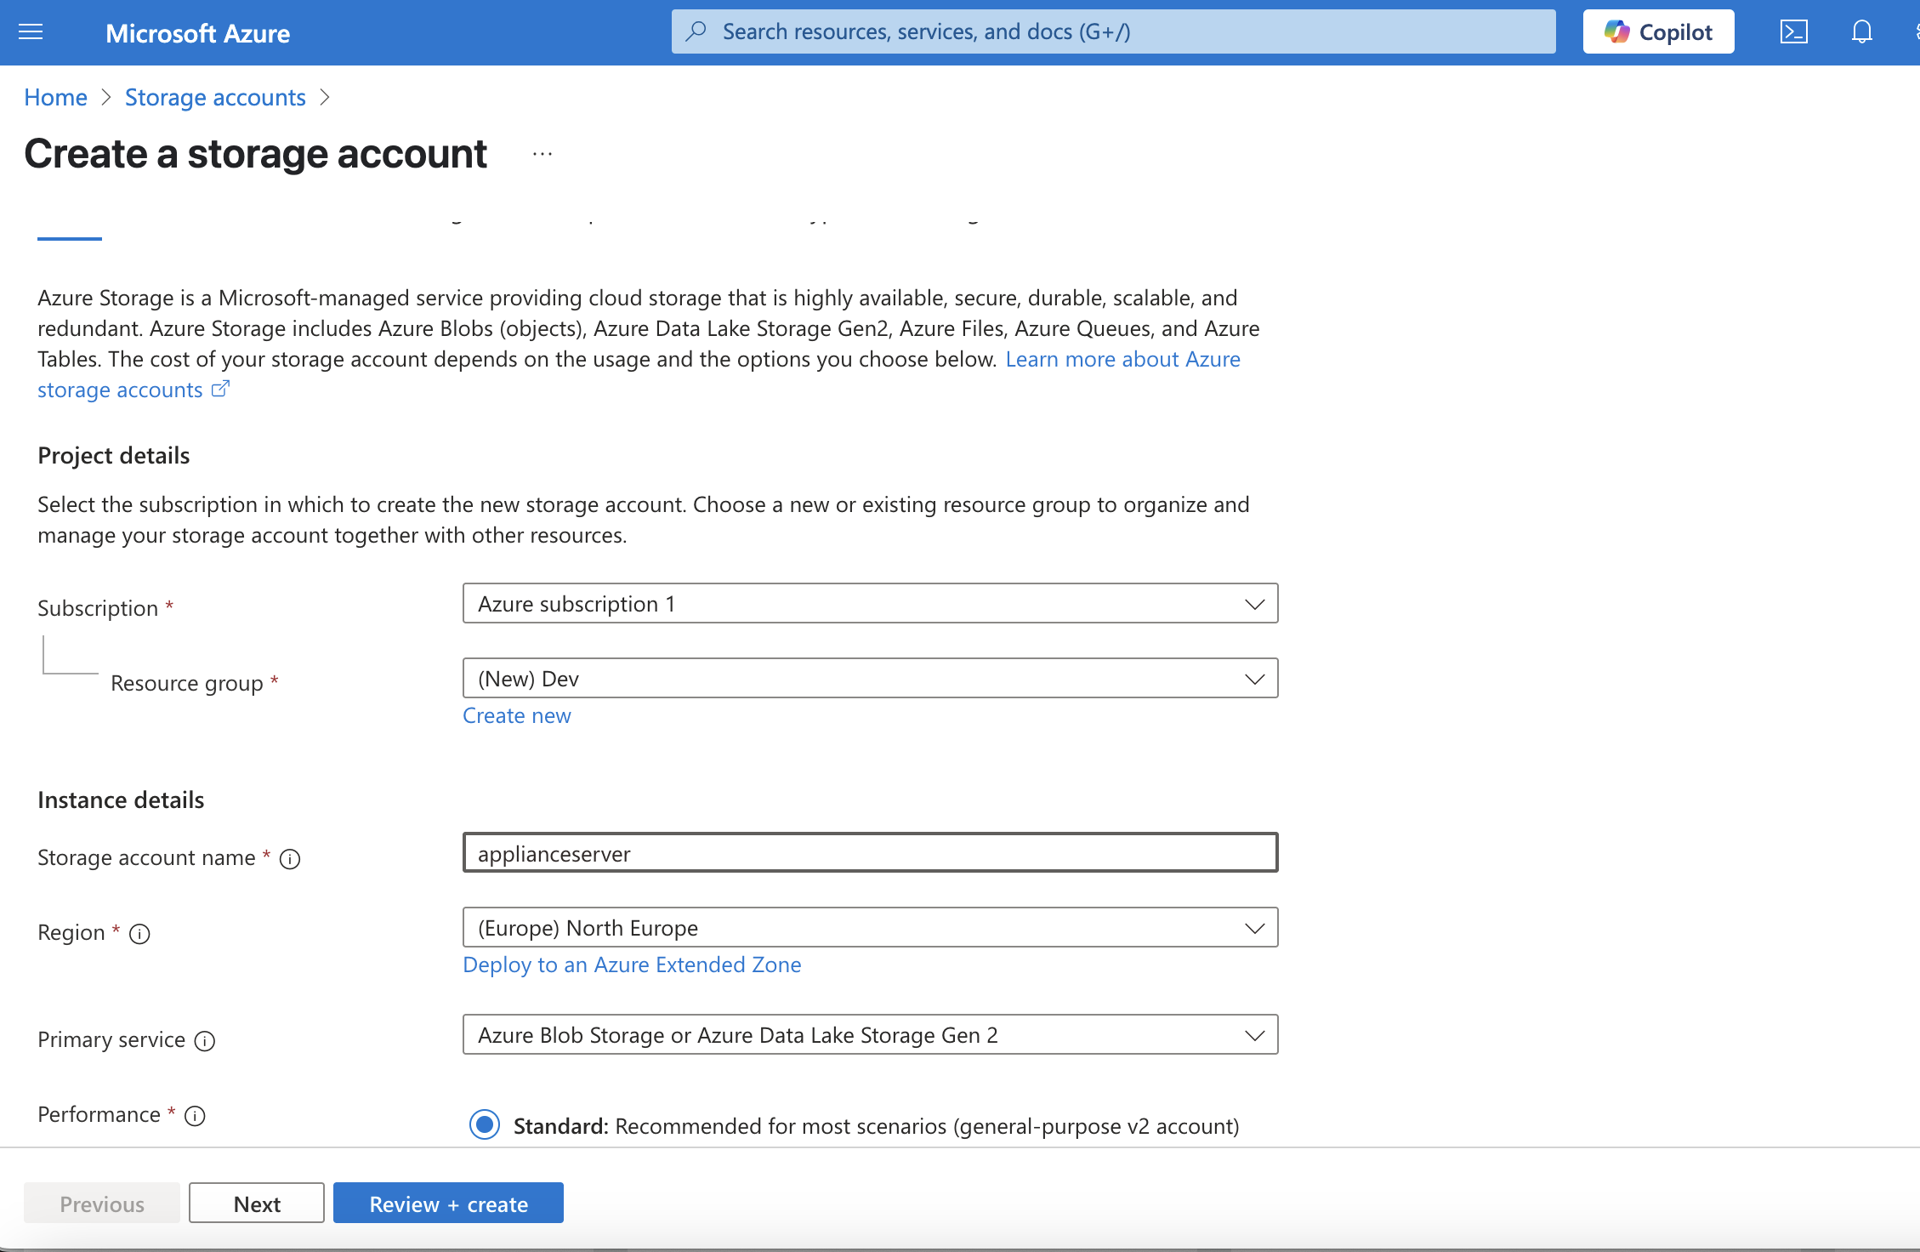
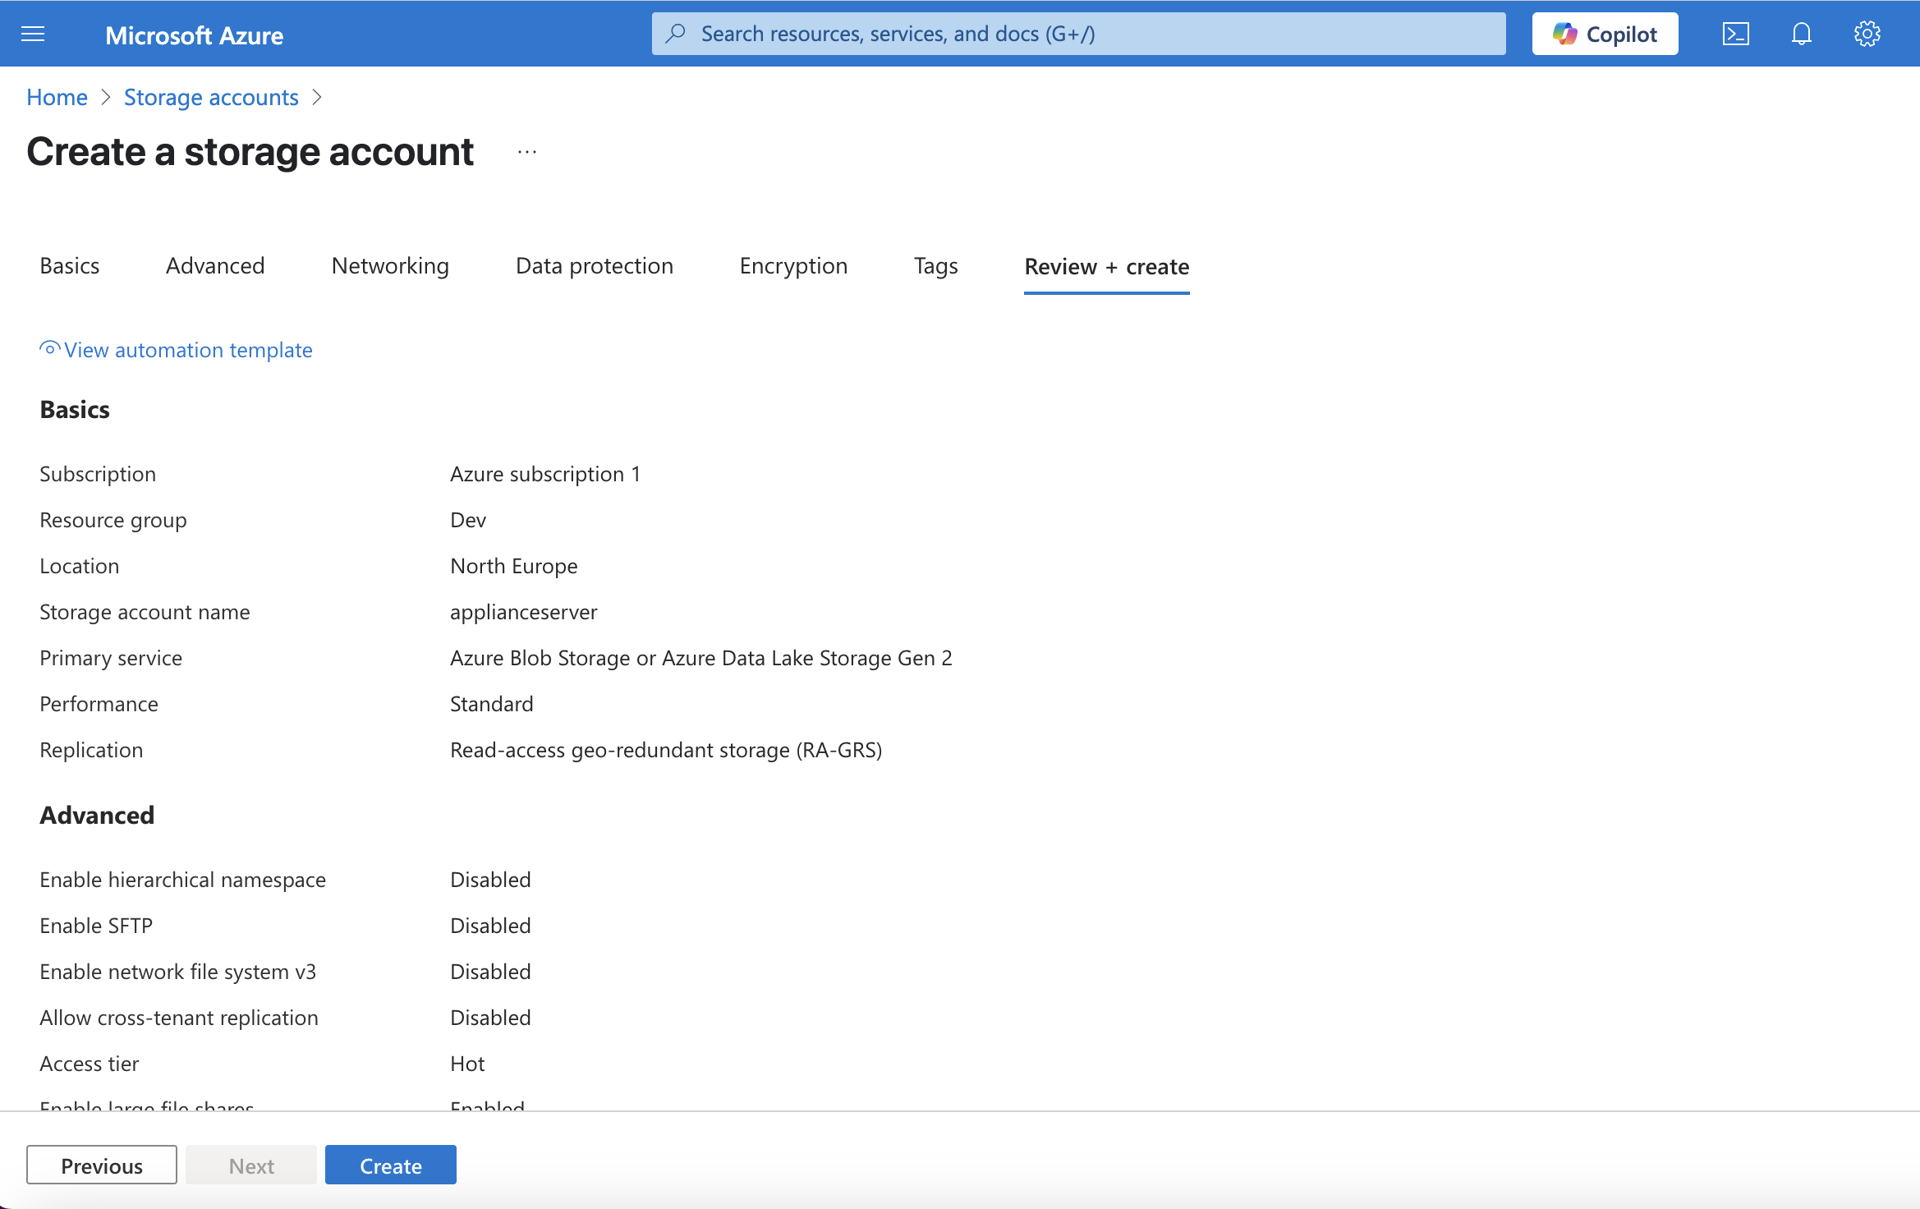
Step 1: Create a Storage Account
Appliances in Azure are distributed as VHD images. Copy the VHD into your Azure storage account before creating an image from it.
- Open the Azure portal.
- Select Storage Accounts.
- Create a new storage account where you will copy the appliance VHD.
- Open the storage account.
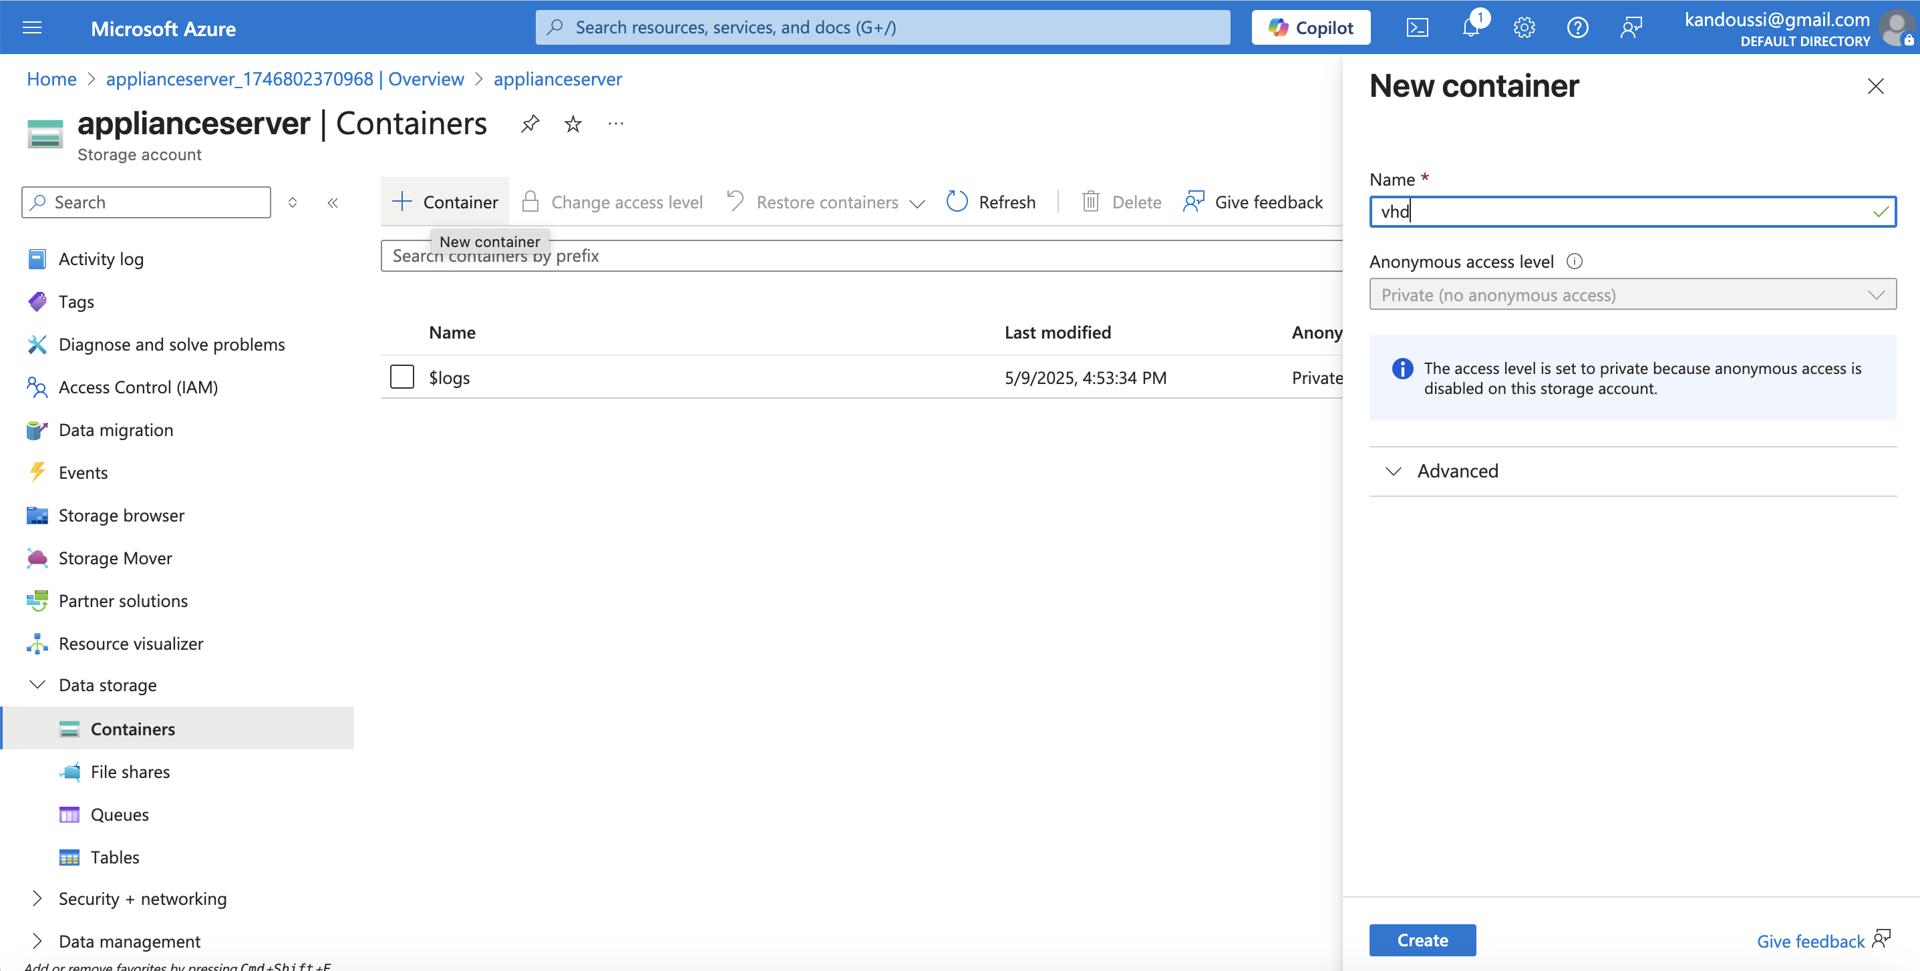
Step 2: Create a Container for the VHD
Create a container in the storage account to hold the appliance VHD.
- In the storage account, go to Data storage.
- Select Containers.
- Create a container for the VHD image. For example, name the container
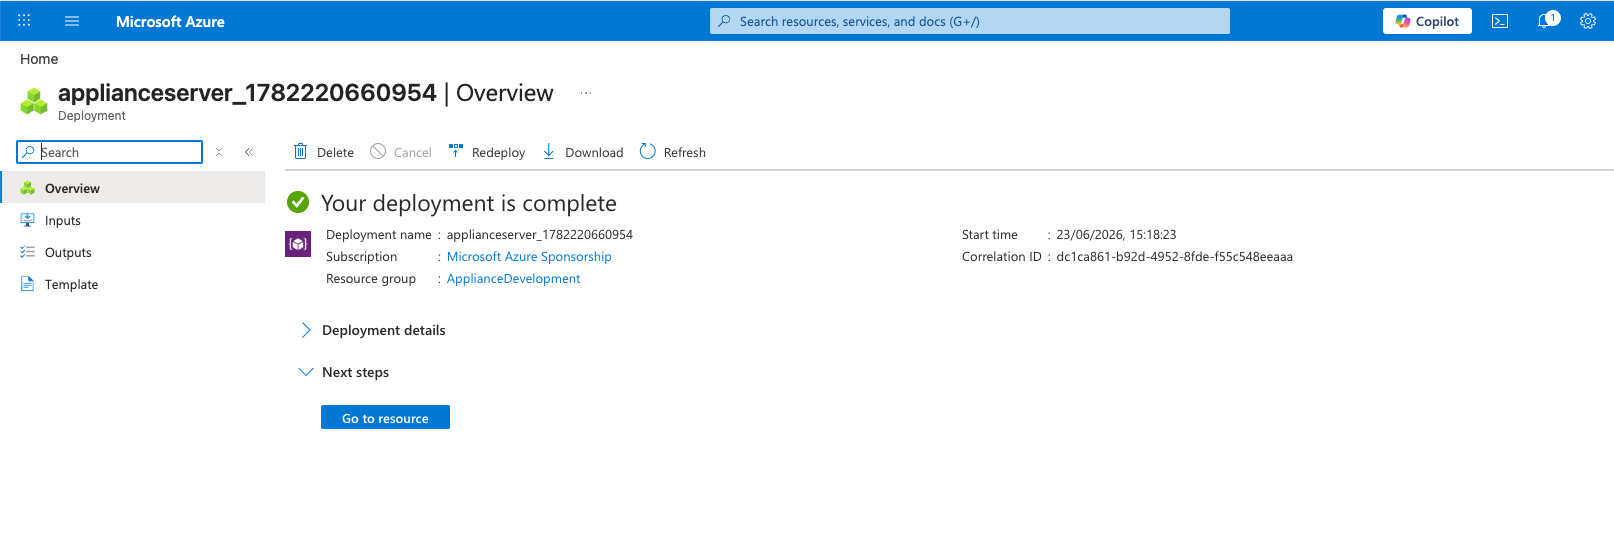
vhd. - Select Go to resource to open the
vhdcontainer overview.
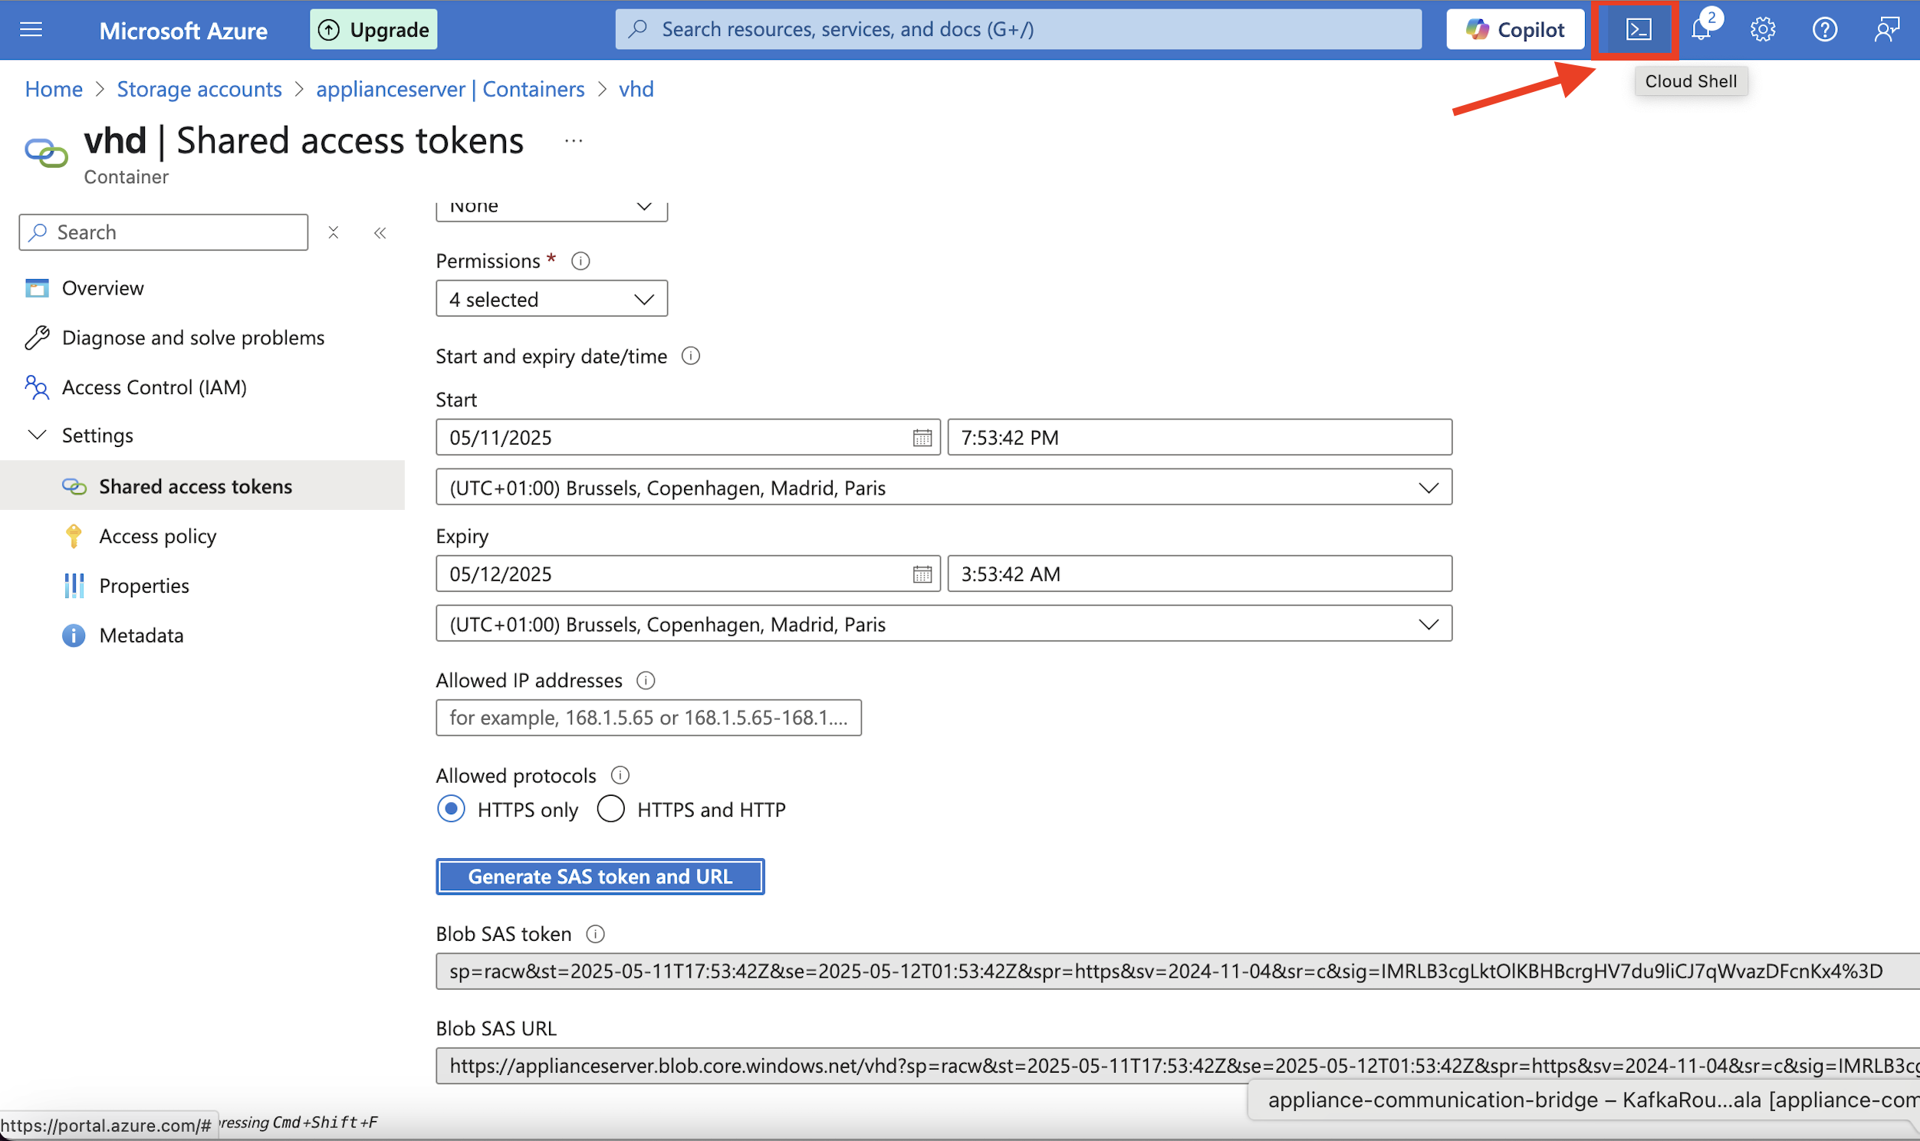
Step 3: Generate a Blob SAS URL
Generate a shared access signature (SAS) URL so Azure can copy the VHD into your storage account.
-
In the
vhdcontainer, open Settings → Shared access tokens. -
Select the permissions required to copy the VHD into the container.

-
Generate the SAS token and URL.
-
Copy the Blob SAS URL. You need this URL when running the
azcopycommand.
Step 4: Open Azure Cloud Shell
Use Azure Cloud Shell to run azcopy from the Azure portal.
-
In the Azure portal, select the Cloud Shell icon in the top navigation bar.
-
Start the embedded Cloud Shell session.
Step 5: Copy the VHD into Your Storage Account
Use azcopy to copy the VHD directly from the Latticeflow shared URL into your Azure storage account.
Run the following command in Cloud Shell:
azcopy copy <source-vhd-url> <destination-blob-sas-url>| Placeholder | Description |
|---|---|
<source-vhd-url> | The VHD URL supplied by Latticeflow support. For example, https://applianceservercis2729.blob.core.windows.net/vhds/appliance-server-cis.vhd. |
<destination-blob-sas-url> | The final file location for the VHD in your storage account, including the container path and SAS token. |
Example:
azcopy copy "https://applianceservercis2729.blob.core.windows.net/vhds/appliance-server-cis.vhd" "https://applianceserver.blob.core.windows.net/vhd?sp=racw&st=2025-05-09T16:11:34Z&se=2025-05-10T00:11:34Z&spr=https&sv=2024-11-04&sr=c&sig=tFFb3qD%2BRG%2FthXwCnMISVvnfkpPtZZzcojwC6%2Fg589c%3D"Wait for the copy to complete without failures before continuing.

Step 6: Copy the VHD File URL
After the copy completes, copy the URL for the VHD file from your Azure storage account.
-
Open the storage account where you copied the VHD.
-
Open Containers.
-
Select the VHD container, for example
vhd.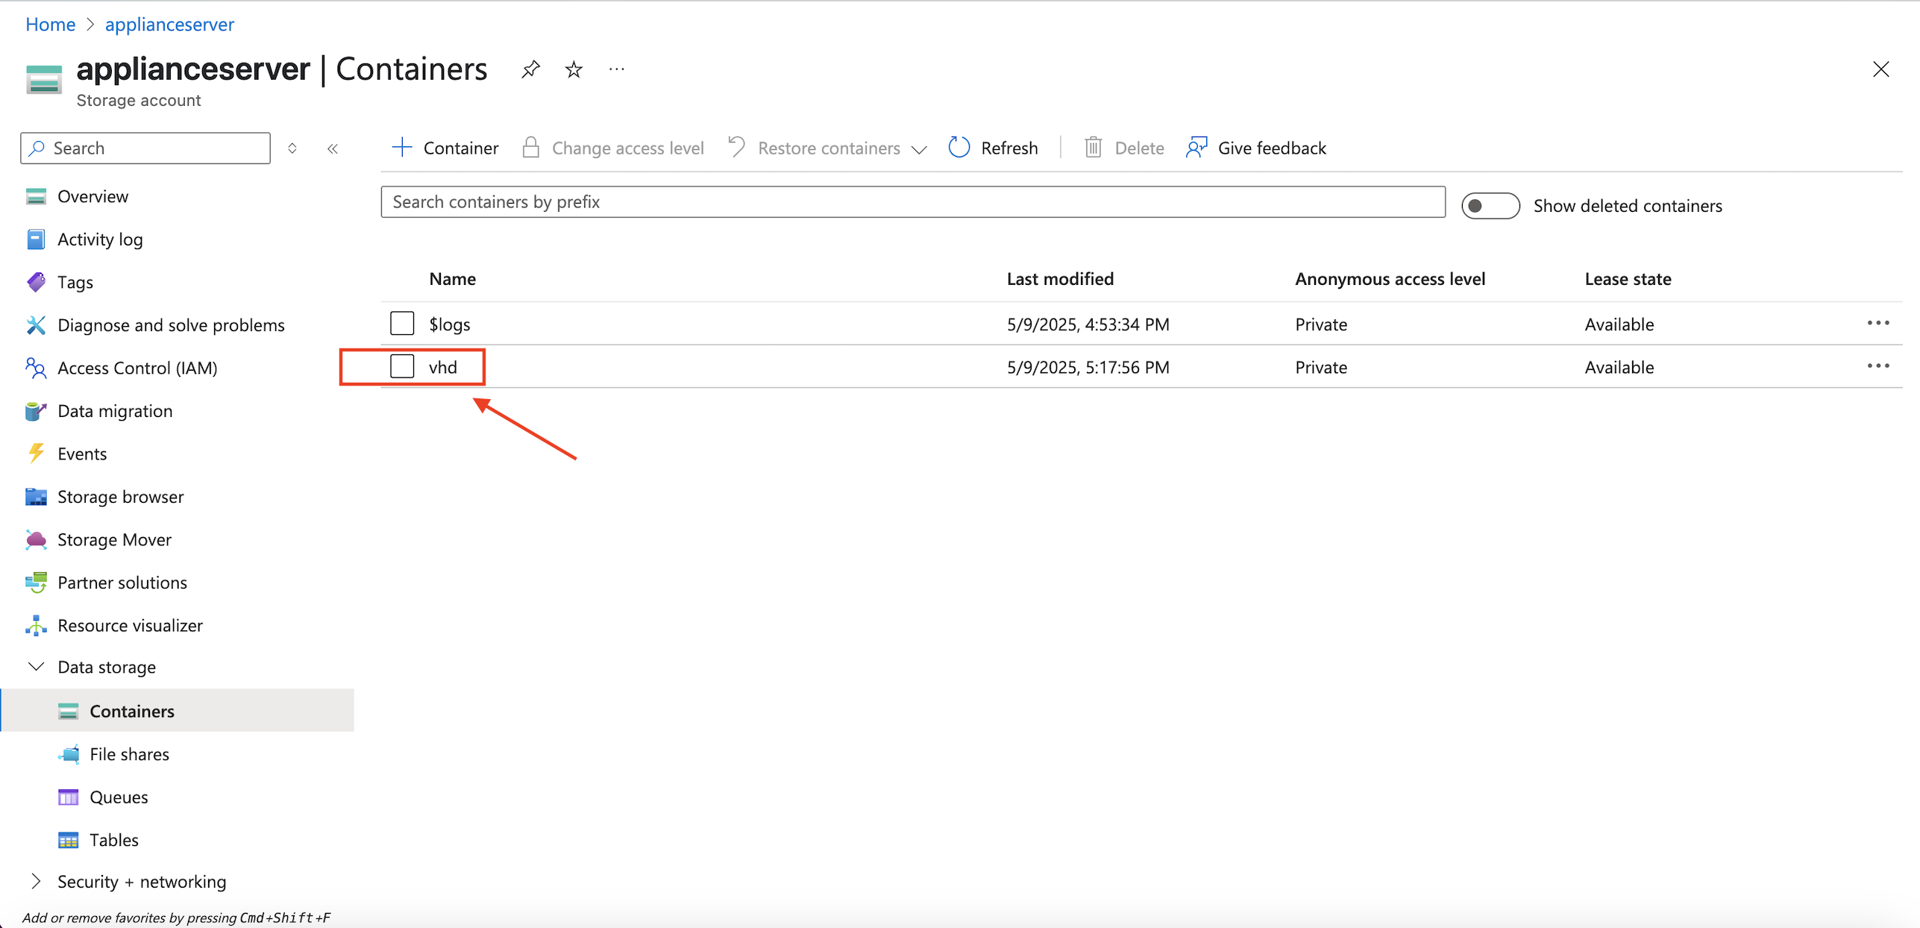
-
Select the VHD file copied from the Latticeflow support URL.
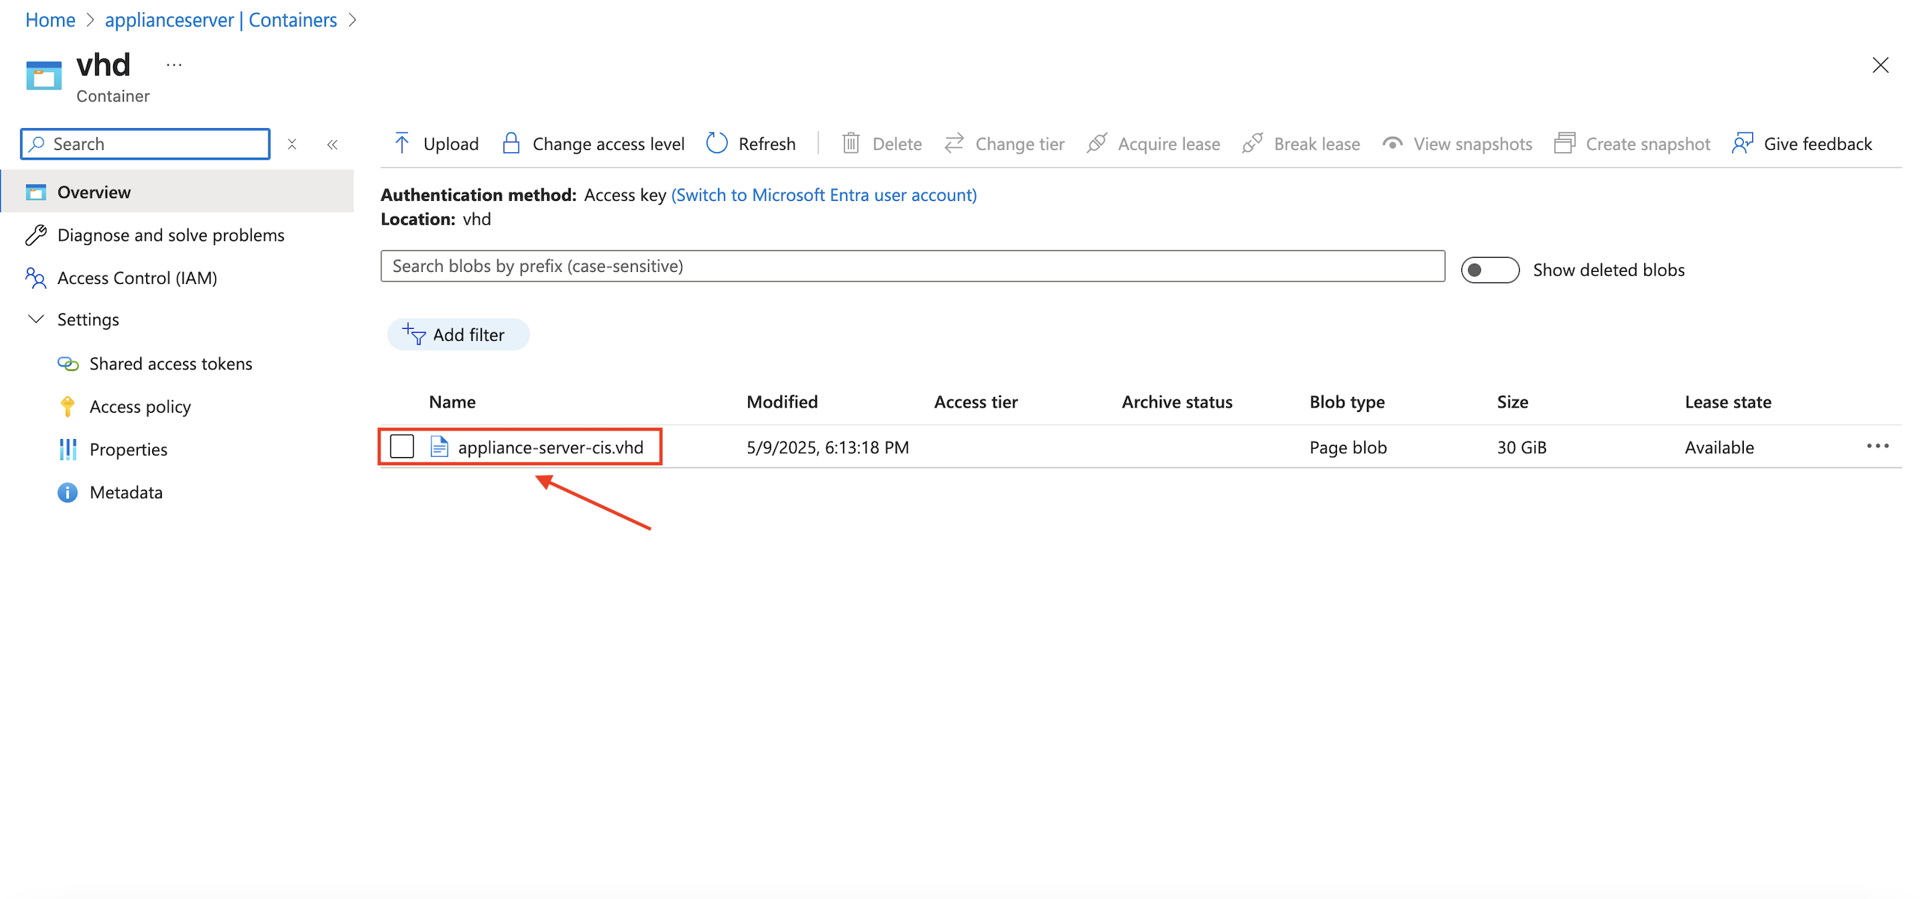
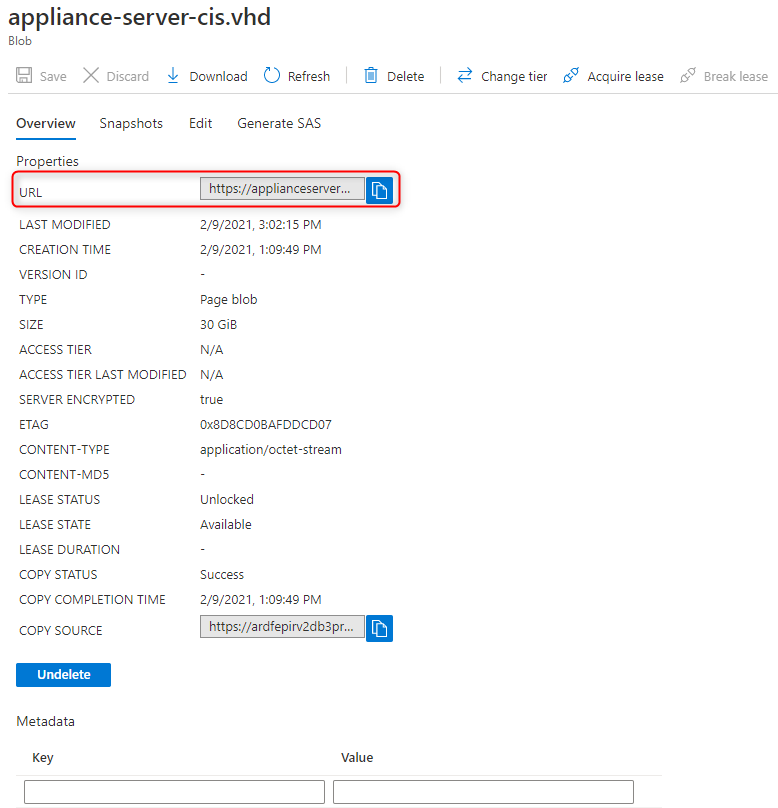
-
Copy the file URL. You need this URL when creating the Azure image.
You cannot deploy a VM from a third-party blob using an Azure free tier account because the free tier has a maximum of 5 GB available for blobs. The Latticeflow appliance VHD is larger than this limit. Use at least a pay-as-you-go account.
Step 7: Create an Azure Image
Create an Azure image from the copied VHD.
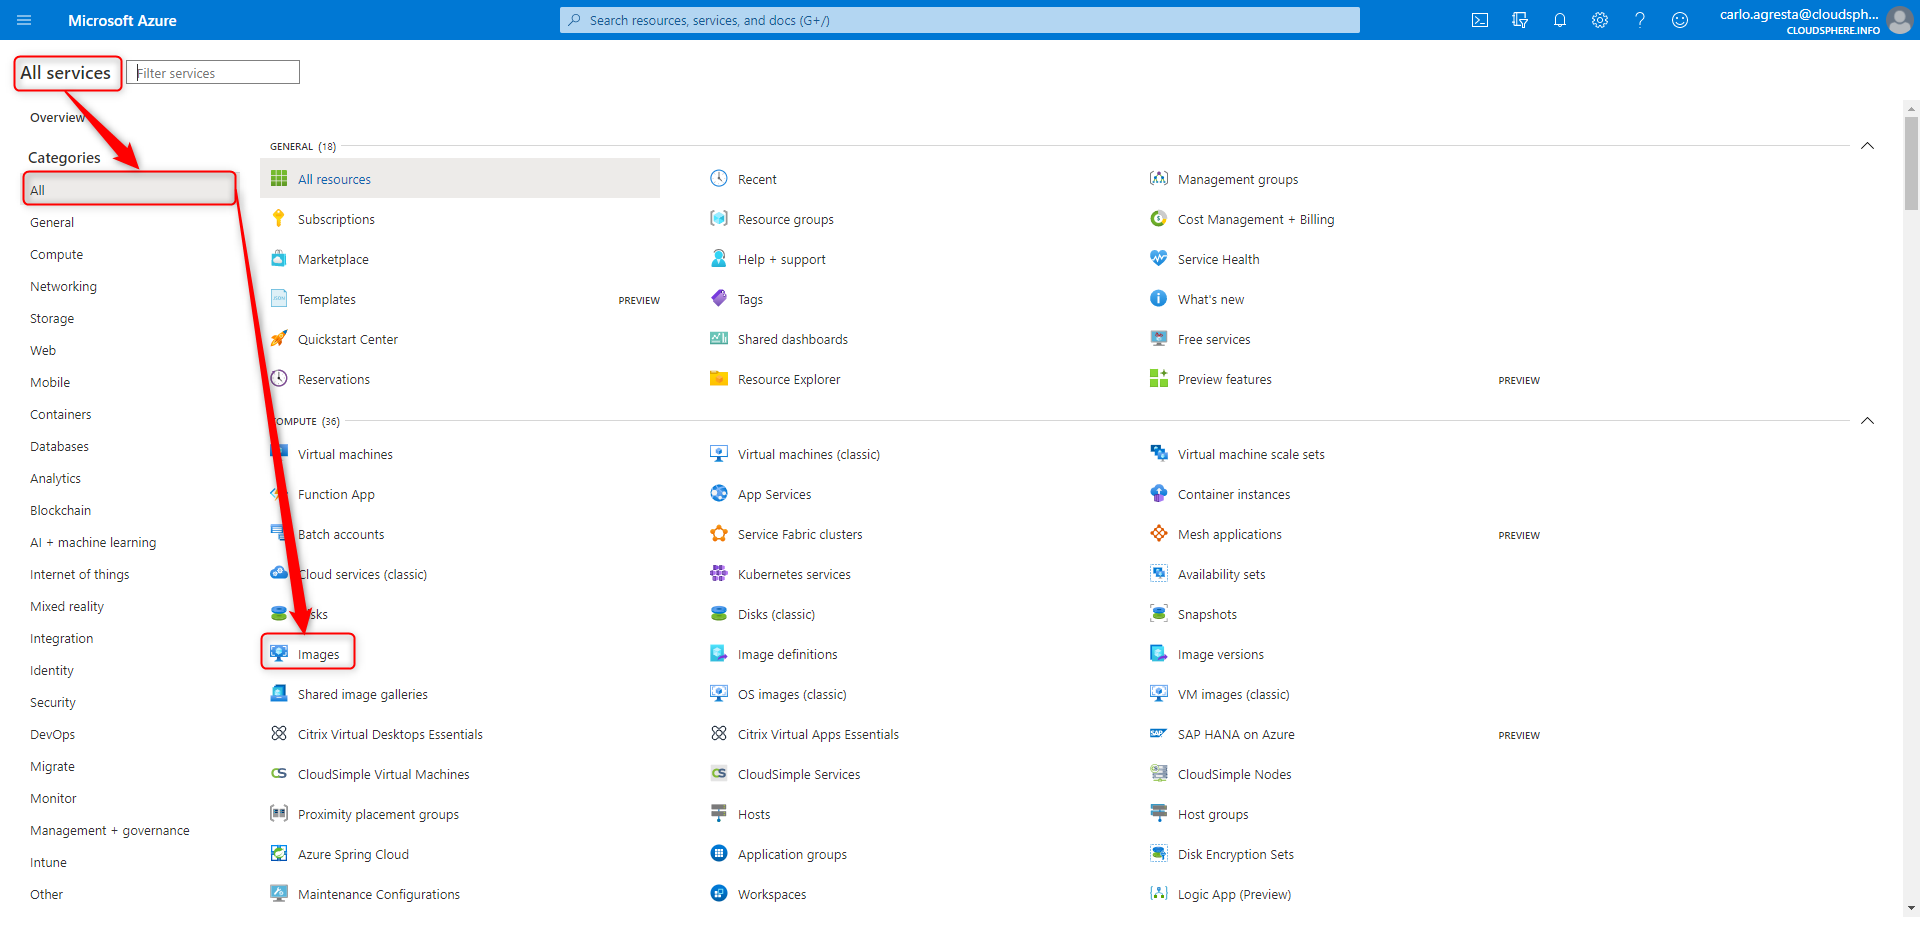
-
In the Azure portal, select All Services → Images.
-
Select Create.

-
Enter a unique image name.
-
Select the storage blob URL you copied in the previous step.
-
Assign the image to the same resource group as the targets you want to scan.
-
Use a standard HDD-backed image. The Latticeflow appliance does not require an SSD-backed image.
-
Create the image.
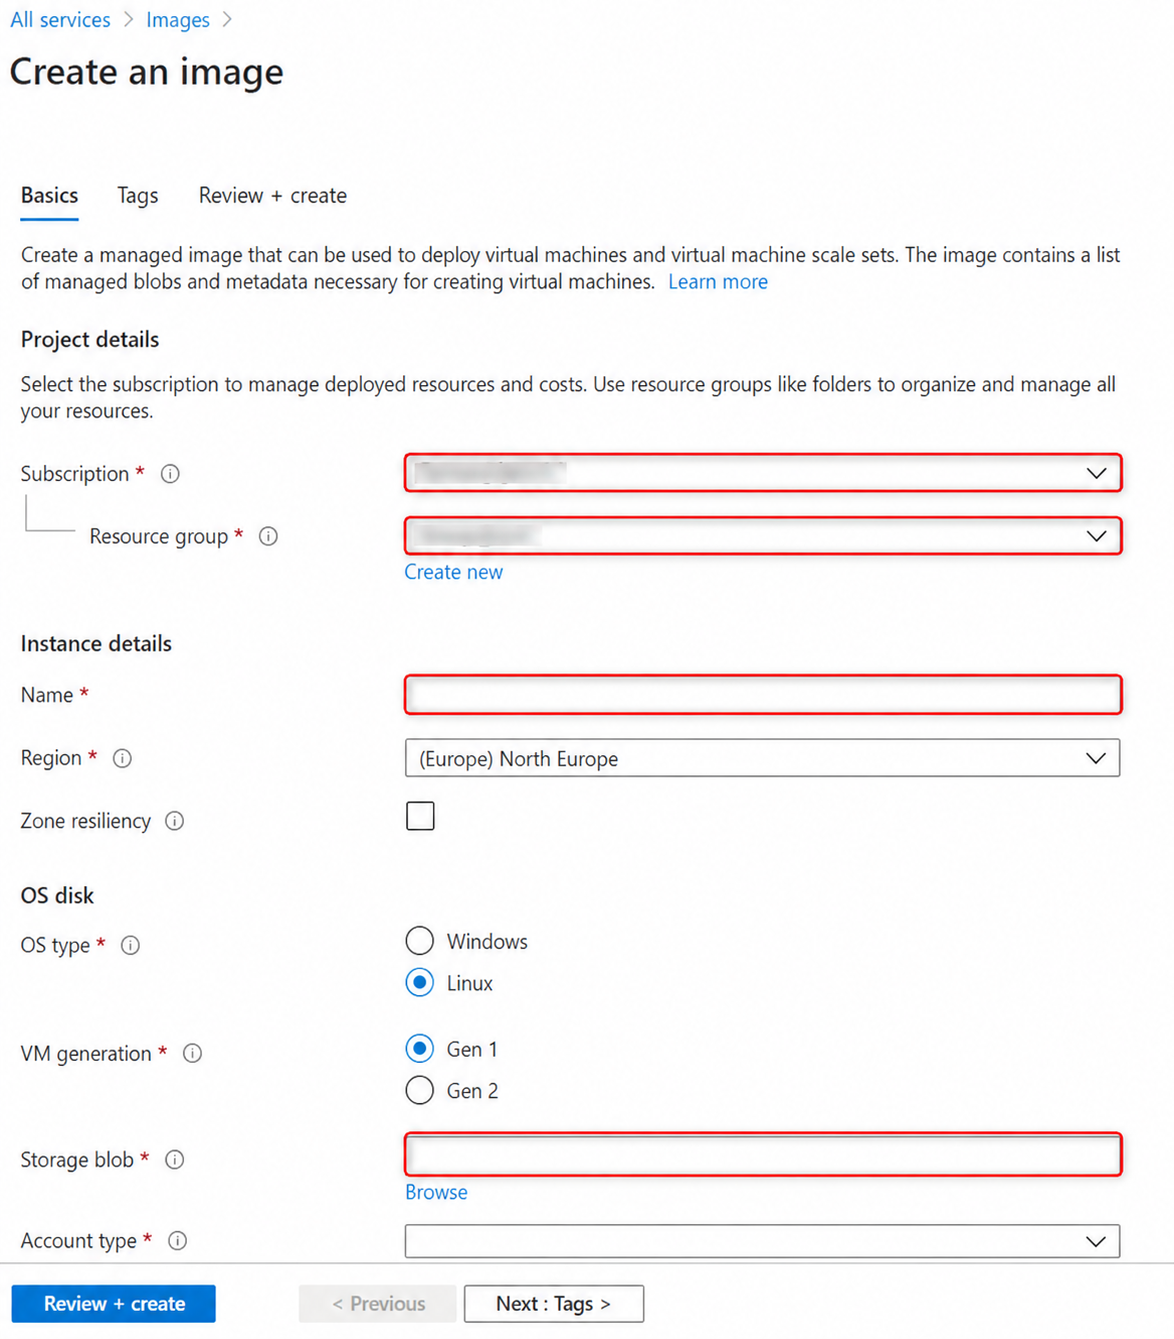
Assign the image to the same resource group as the targets you want to scan. The image contains the hard drive image for the VM that will run the appliance.
Step 8: Create the Virtual Machine
After the image is ready, create a virtual machine from it.
-
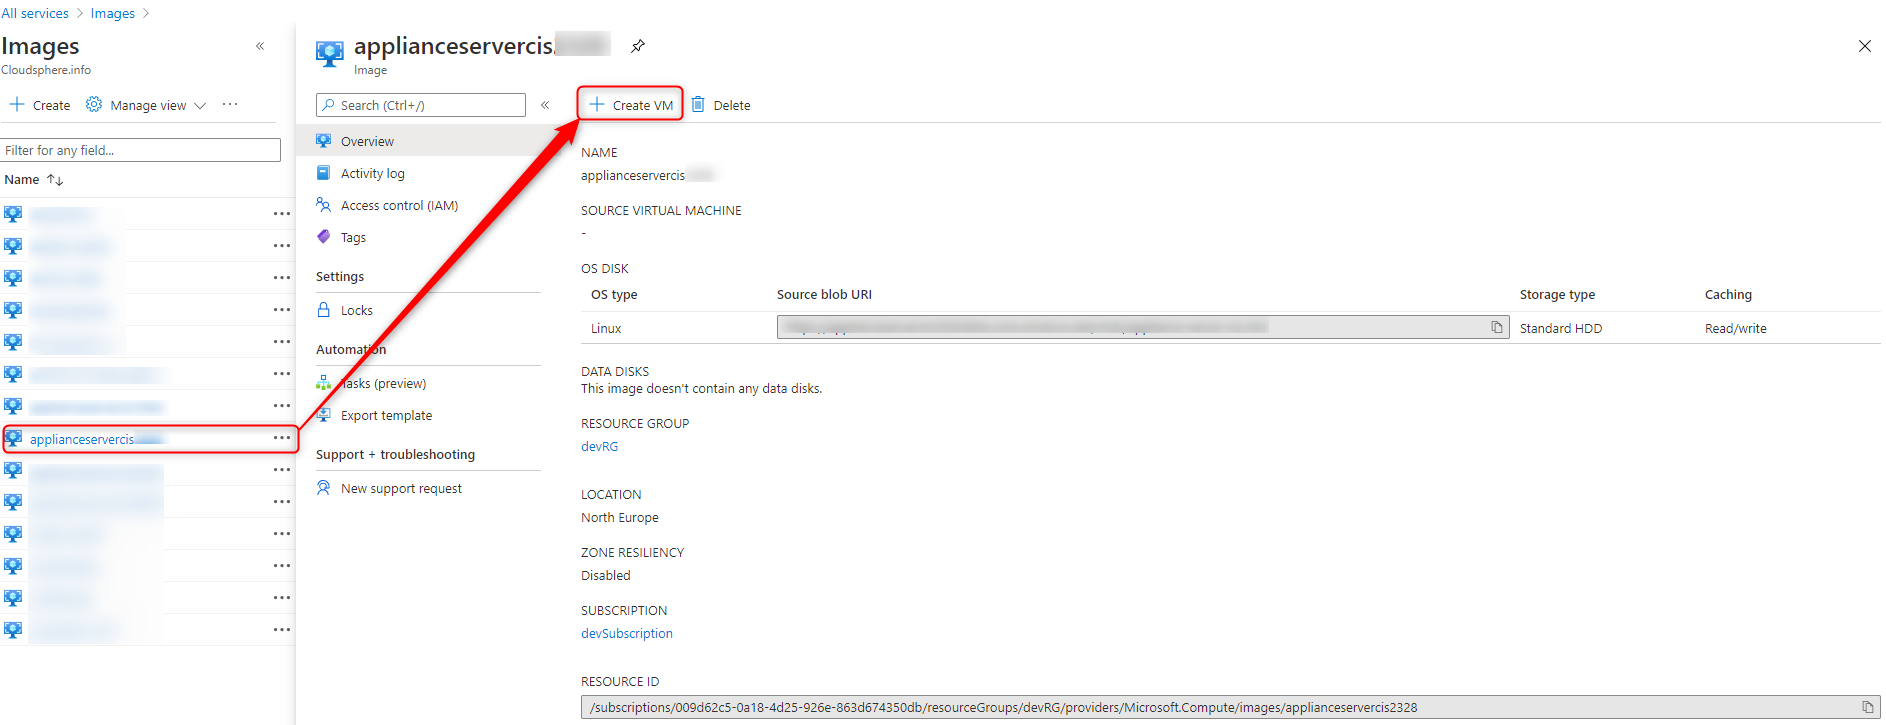
Return to Images.
-
Open the newly created image.

-
Select Create VM.
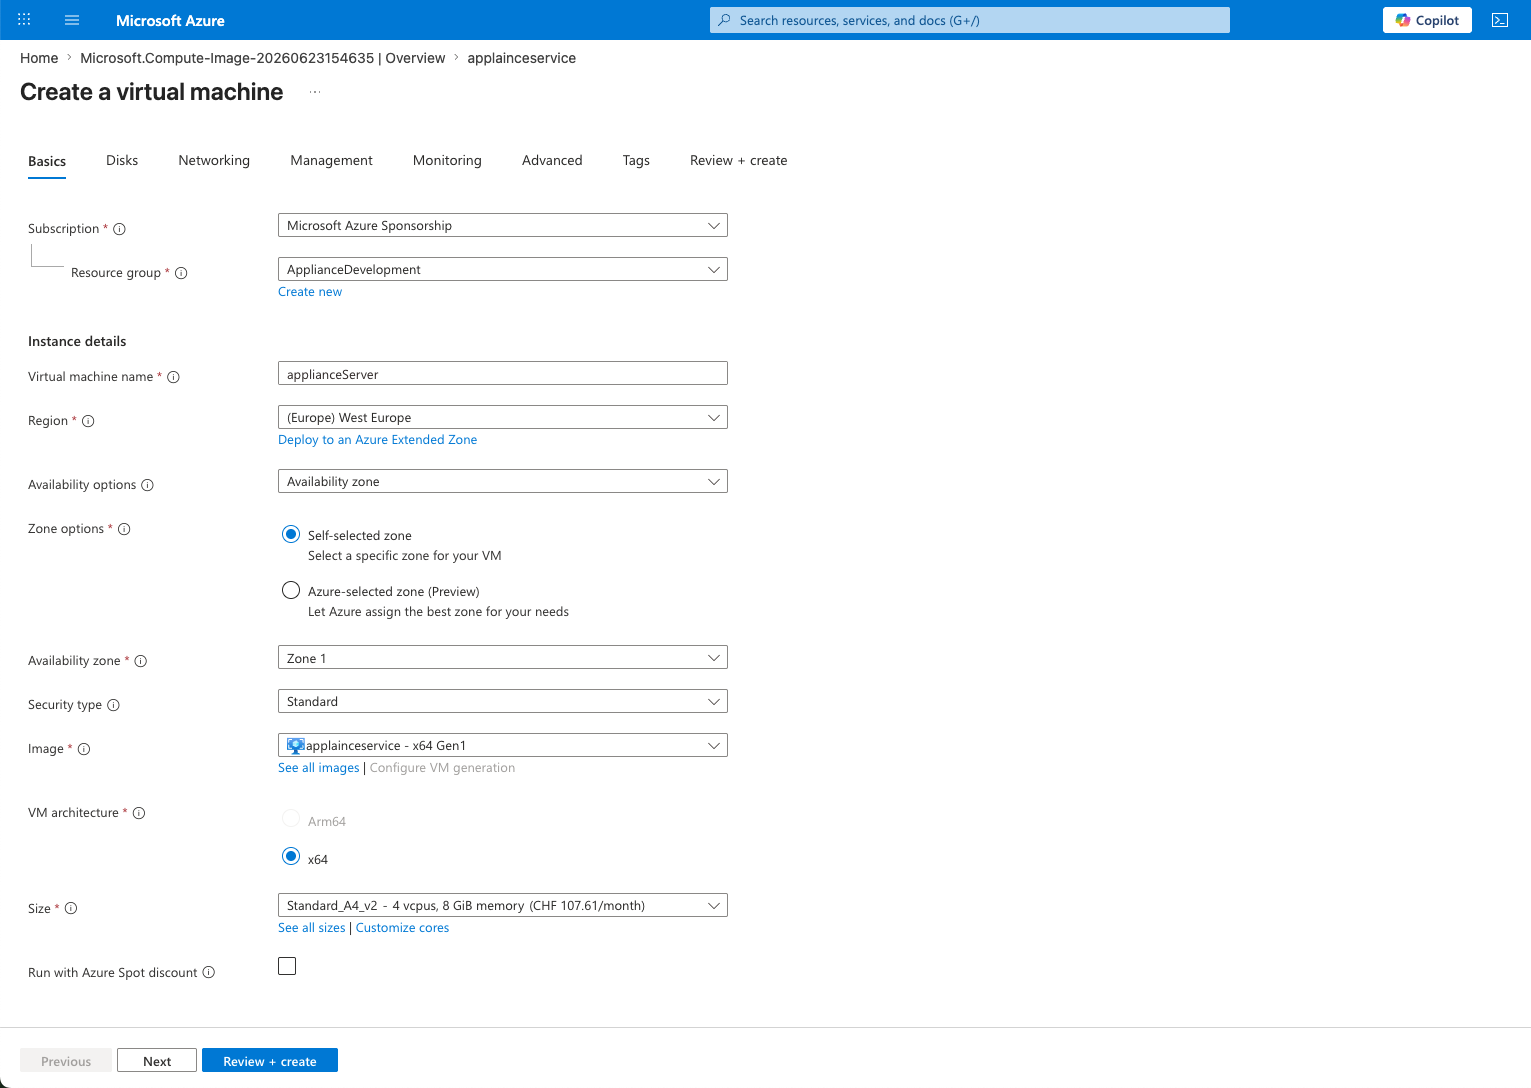
-
Enter a virtual machine name.
-
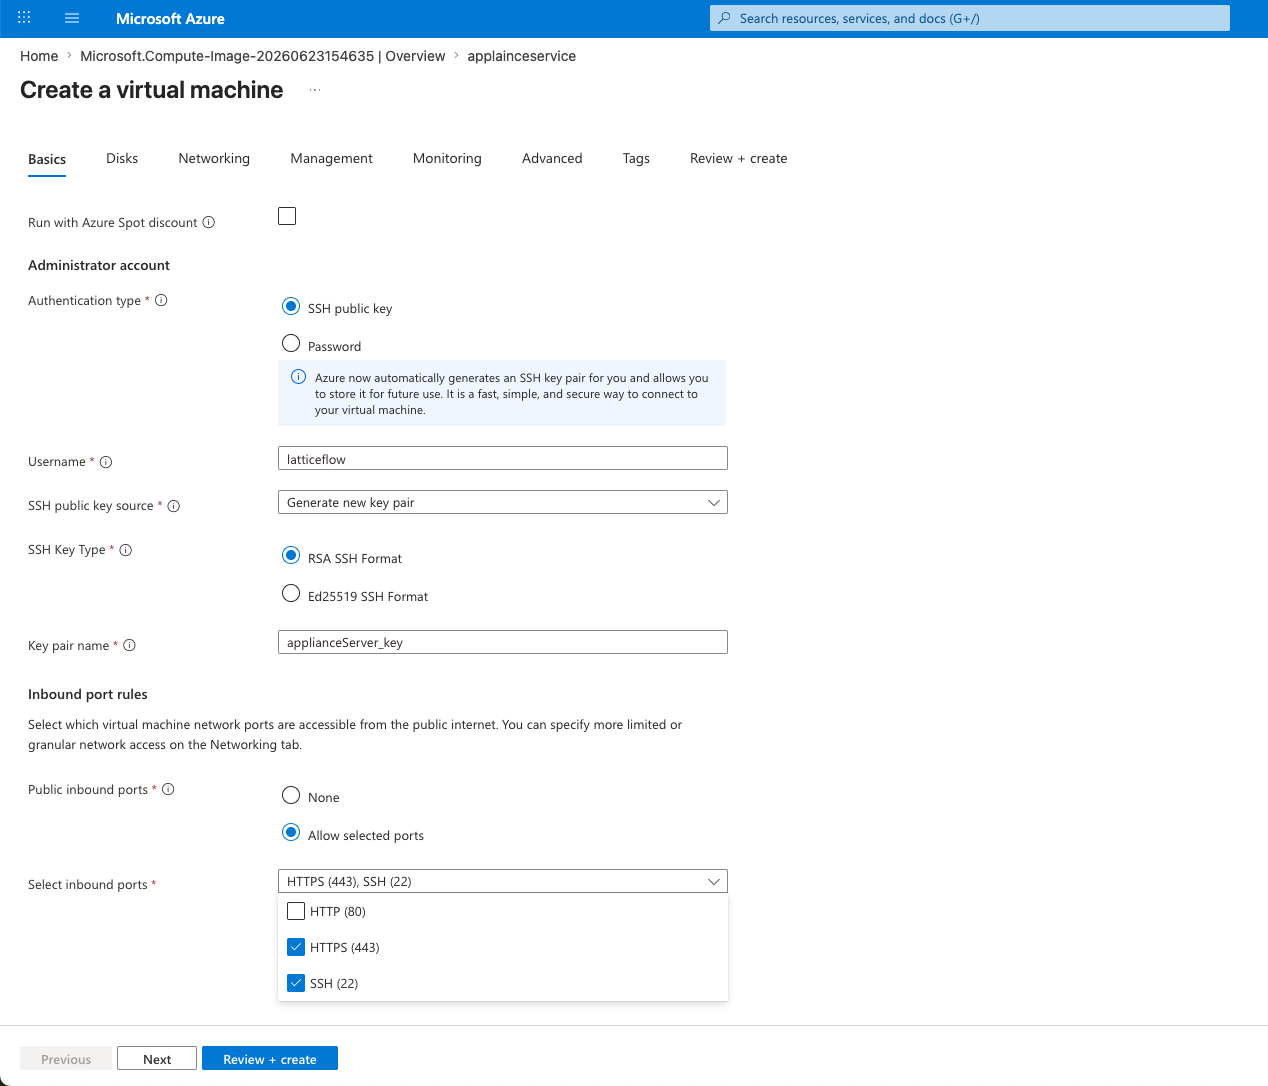
Configure a username and password for SSH access, or configure SSH key access.
-
Enable remote SSH access.
-
Select the VM size.
Latticeflow recommends a VM size with at least:
| Resource | Minimum |
|---|---|
| CPU | 4 vCPU |
| Memory | 8 GB RAM |
| Disk | 64 GB |
Select an Azure VM size that meets or exceeds these CPU and memory requirements.
- Select SSH public key.
- Set the username to
latticeflow. - Open access to SSH and HTTPS.
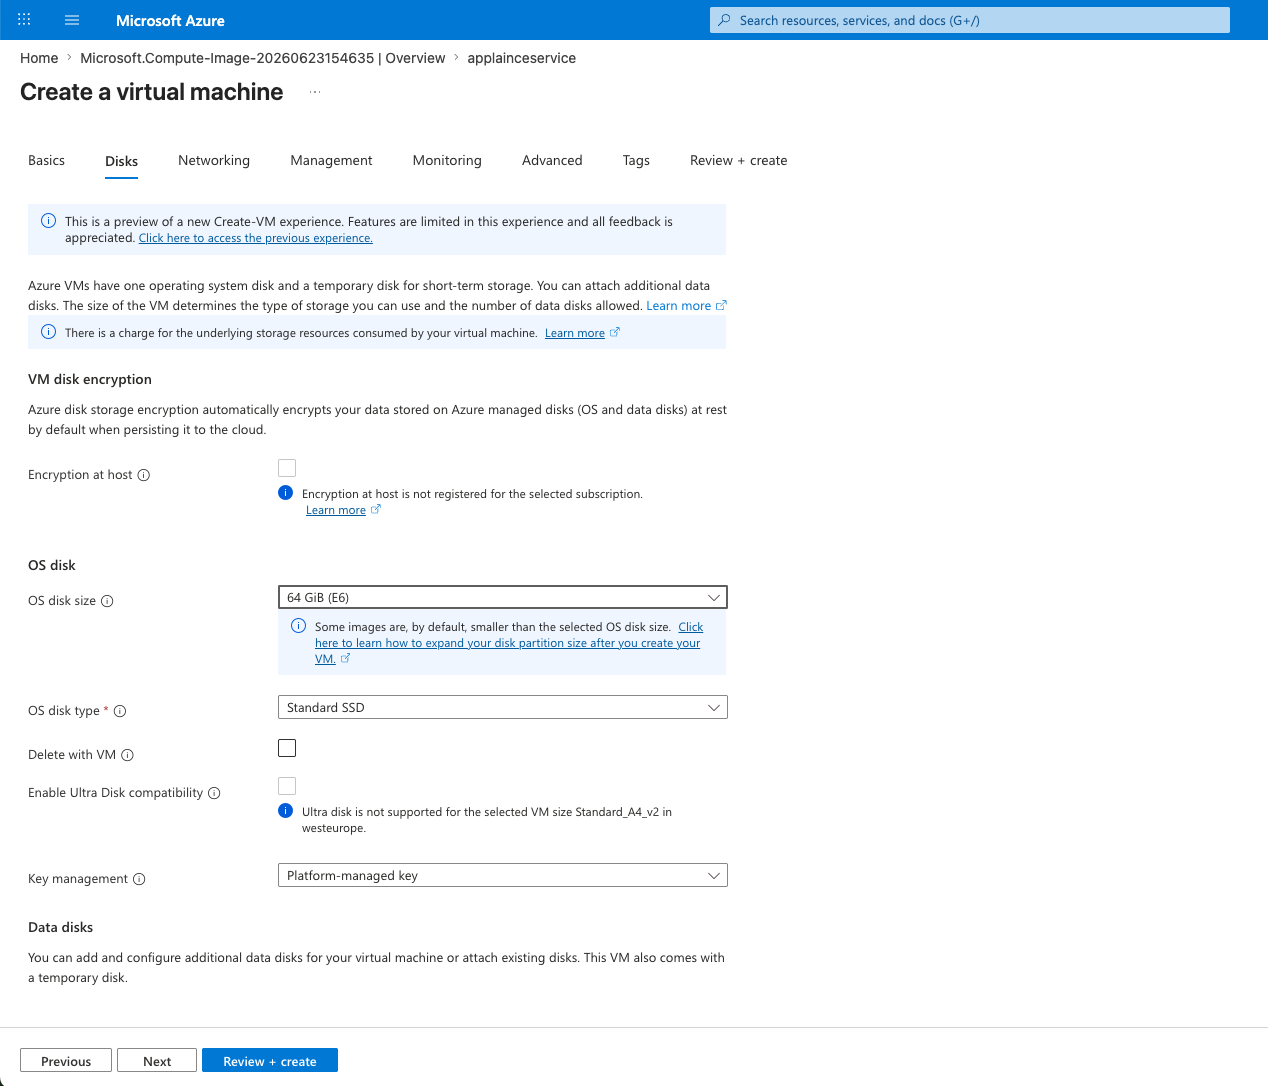
- Set the OS disk size to 64 GB.
Step 9: Get the Appliance IP Address
After the appliance boots for the first time, find its public IP address in Azure.
Use this IP address to log in to the server.
Next Step
The appliance is now deployed. Log in to the web interface on the private IP address using your Azure network connection, such as a VPN, then configure the virtual appliance.