Configure the Appliance
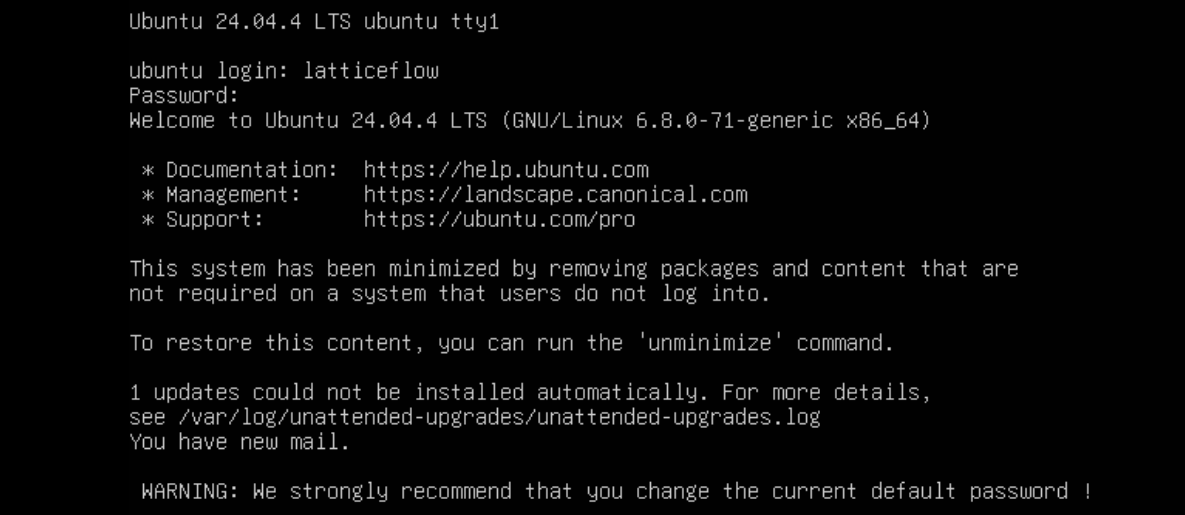
On its first boot, the virtual appliance launches a setup wizard that walks you through the initial configuration. Open a console on the machine or connect over SSH with an SSH client. The default login is username latticeflow and password latticeflow.
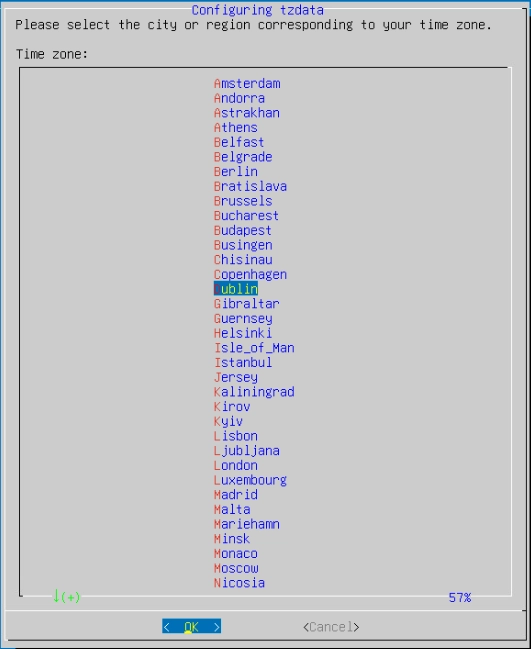
Step 1: Set the Time Zone
Configure the time zone the appliance uses. Scroll to your geographic area, tab to OK, and press Enter.
Step 2: Configure Network Settings
Provide the network information the appliance needs to join your local network.
- On a cloud appliance (AWS, Azure, or GCP), this section is skipped automatically.
- Use a static IP address from the private range of your local LAN.
Configure the hostname and domain. Enter y to confirm or n to re-enter the values.
--- Host Configuration ---
Please enter the hostname (or type enter to use default: ubuntu) :
$ ApplianceTest
Please enter the domain :

Do you want to keep the following Host Configuration ?
Hostname: ApplianceTest
Domain:
Confirm ? (y/n): y
Enter the IP address, netmask (optional), and gateway. Enter y to confirm or n to re-enter the values.
--- Ethernet Networking Configuration ---
Please enter the IP Address :
Please enter the Netmask (or type enter to use default: 255.255.255.0) :
Please enter the Gateway :

Do you want to keep the following configuration ?
IP address
Netmask
Broadcast
Gateway
Confirm ? (y/n): y
Configure the primary and secondary DNS servers. Enter y to confirm or n to re-enter the values.
--- DNS Configuration ---
Please enter the DNS Server :
Please enter the Secondary DNS Server (optional, or type enter to skip it) :
Do you want to keep the following DNS Configuration ?
domain iadomain.com
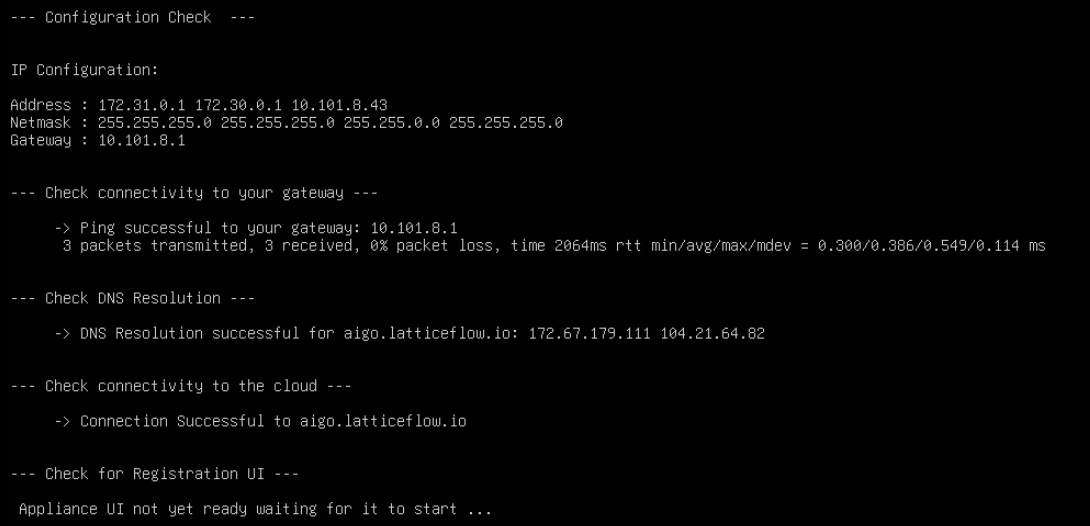
Confirm ? (y/n): yStep 3: Verify Network Access
Once you confirm all entries, the appliance runs a series of checks to confirm it has the required network access.

With the network configured, register the appliance to activate it.